Step-by-Step DIY Guide for Flat Screen TV Installation
Gathering Your Tools and Materials
Installing a flat screen TV can seem daunting, but with the right tools and steps, it can be a seamless process. Before starting, gather all necessary tools and materials. You’ll need a stud finder, level, drill, screwdriver, measuring tape, and the TV mount kit that typically includes brackets and screws. Having the right tools at your disposal will make the installation process much smoother.
It's also important to have someone to assist you, as TVs can be heavy and awkward to maneuver alone. With everything ready, you’re set to start the installation process.

Decide on the Perfect Location
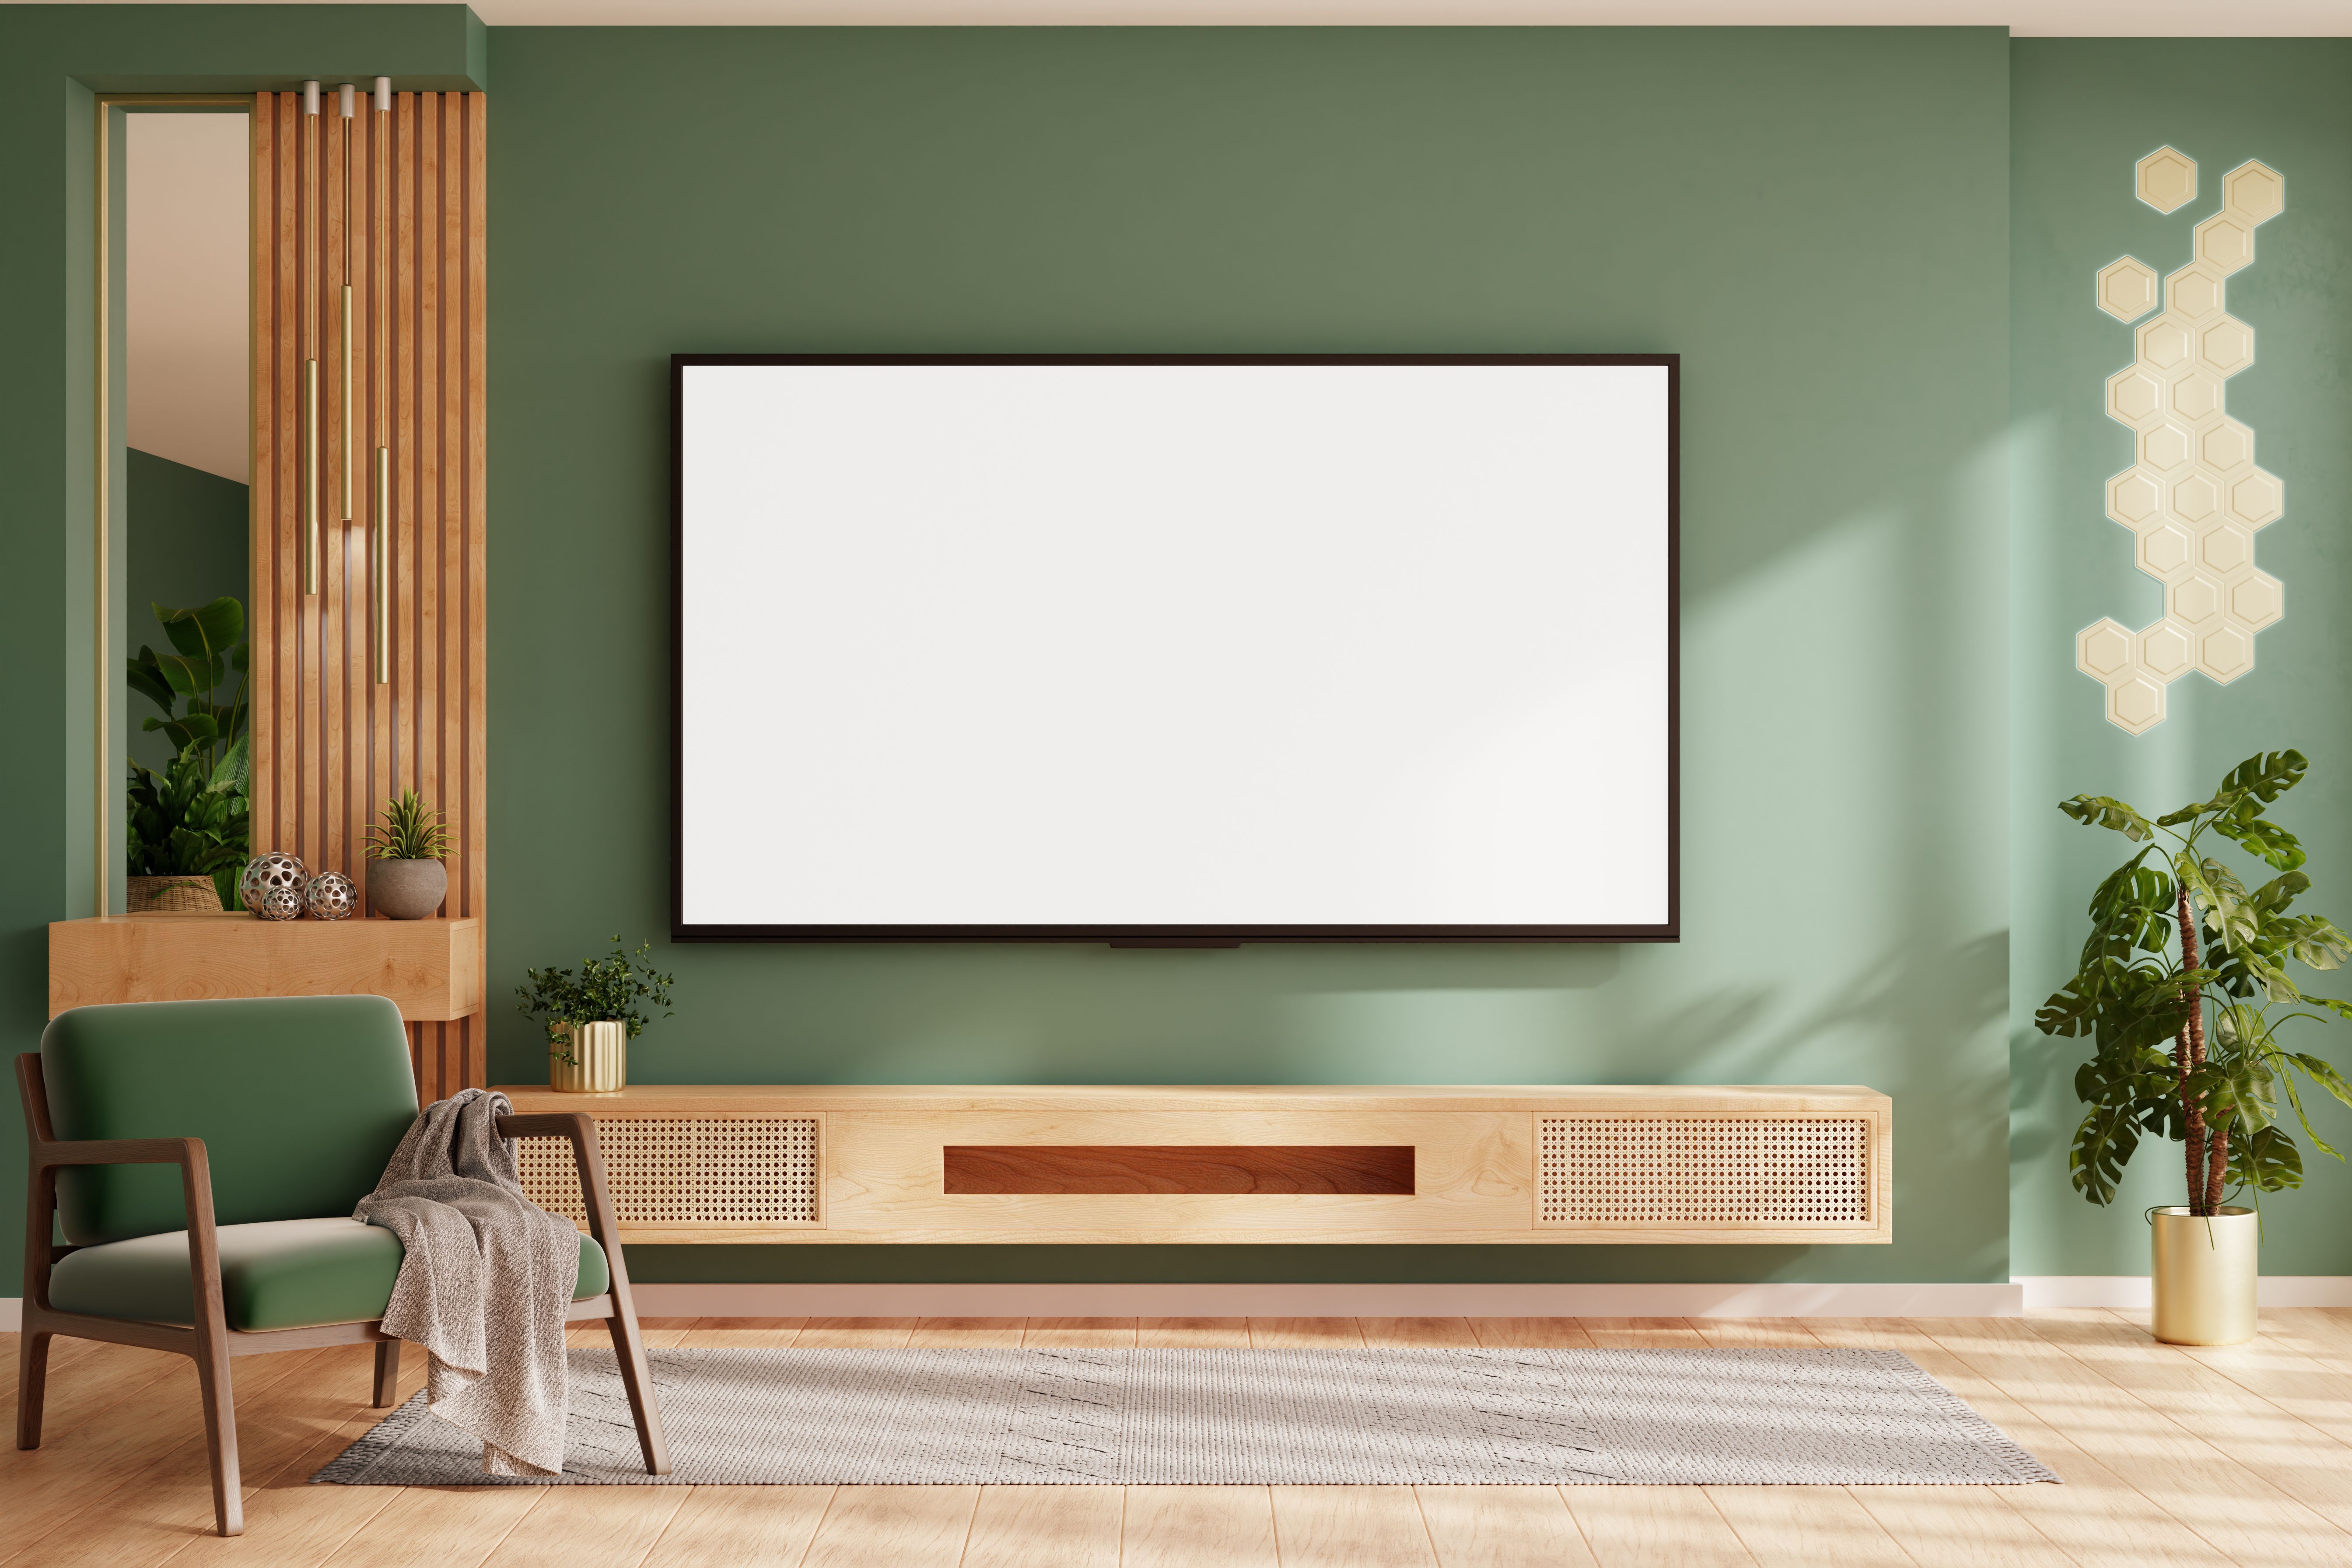
Choosing the right spot for your TV is crucial. Consider the lighting in the room, the viewing distance, and any potential glare from windows or lights. Ideally, the center of the screen should be at eye level when seated. Use a measuring tape to ensure the TV will fit in the chosen space and mark the spot where you'll mount it.
Make sure the wall you choose can support the weight of your TV. A stud finder will help you locate the wall studs, which are necessary for securely mounting your TV.
Measuring for Optimal Viewing
Once you've determined the location, measure the height at which you want to mount your TV. A common guideline is to ensure that the center of the screen is roughly 42 inches from the floor, but this can vary based on seating height.
Mounting Brackets Installation
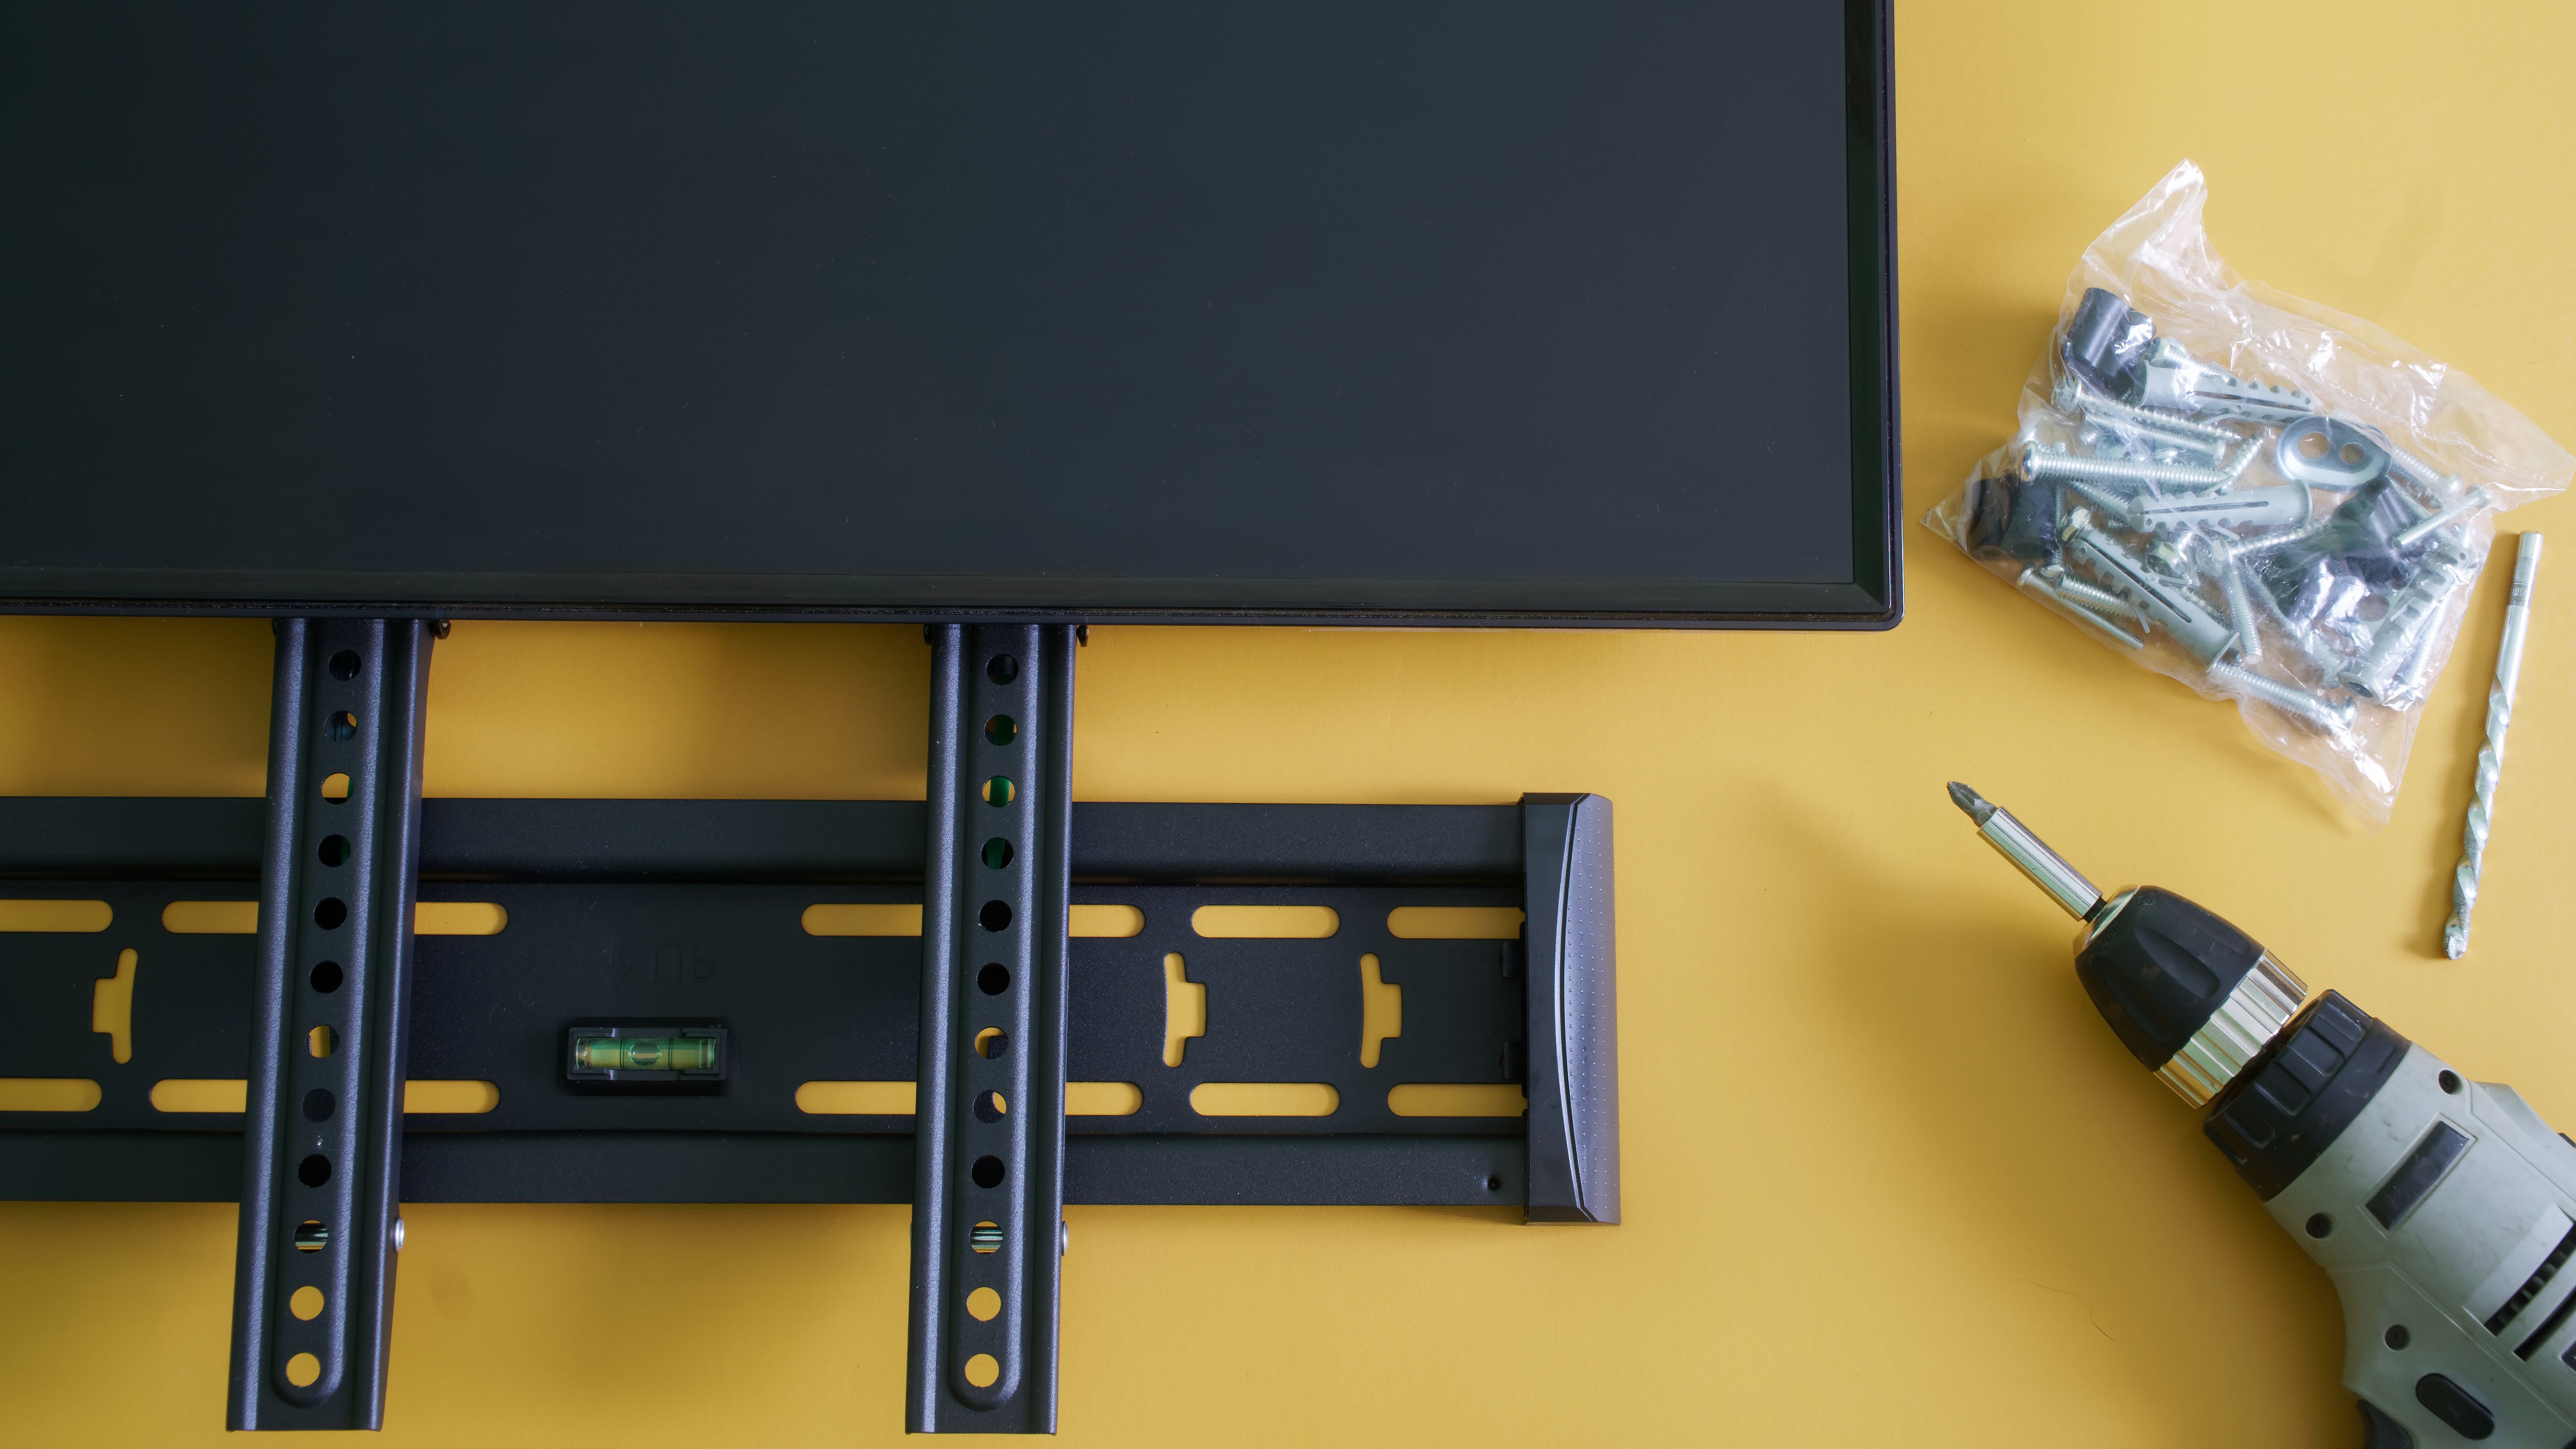
With your location selected and measurements taken, it's time to install the mounting brackets. Start by attaching the brackets to the back of your TV. Most kits come with a variety of screws; select the ones that fit your TV's mounting holes. Ensure these are securely fastened.
Next, use your stud finder to locate the studs on your wall and mark them with a pencil. Align the wall mount with these marks and use a level to ensure it's straight. Drill pilot holes into the studs and then attach the mount using heavy-duty screws.
Securing the TV
With the wall mount securely in place, it’s time to attach your TV. This step is where an extra pair of hands is particularly useful. Carefully lift your TV and align it with the mounted bracket on the wall. Follow the instructions provided with your mounting kit to ensure it locks into place securely.
Connecting Cables and Final Adjustments
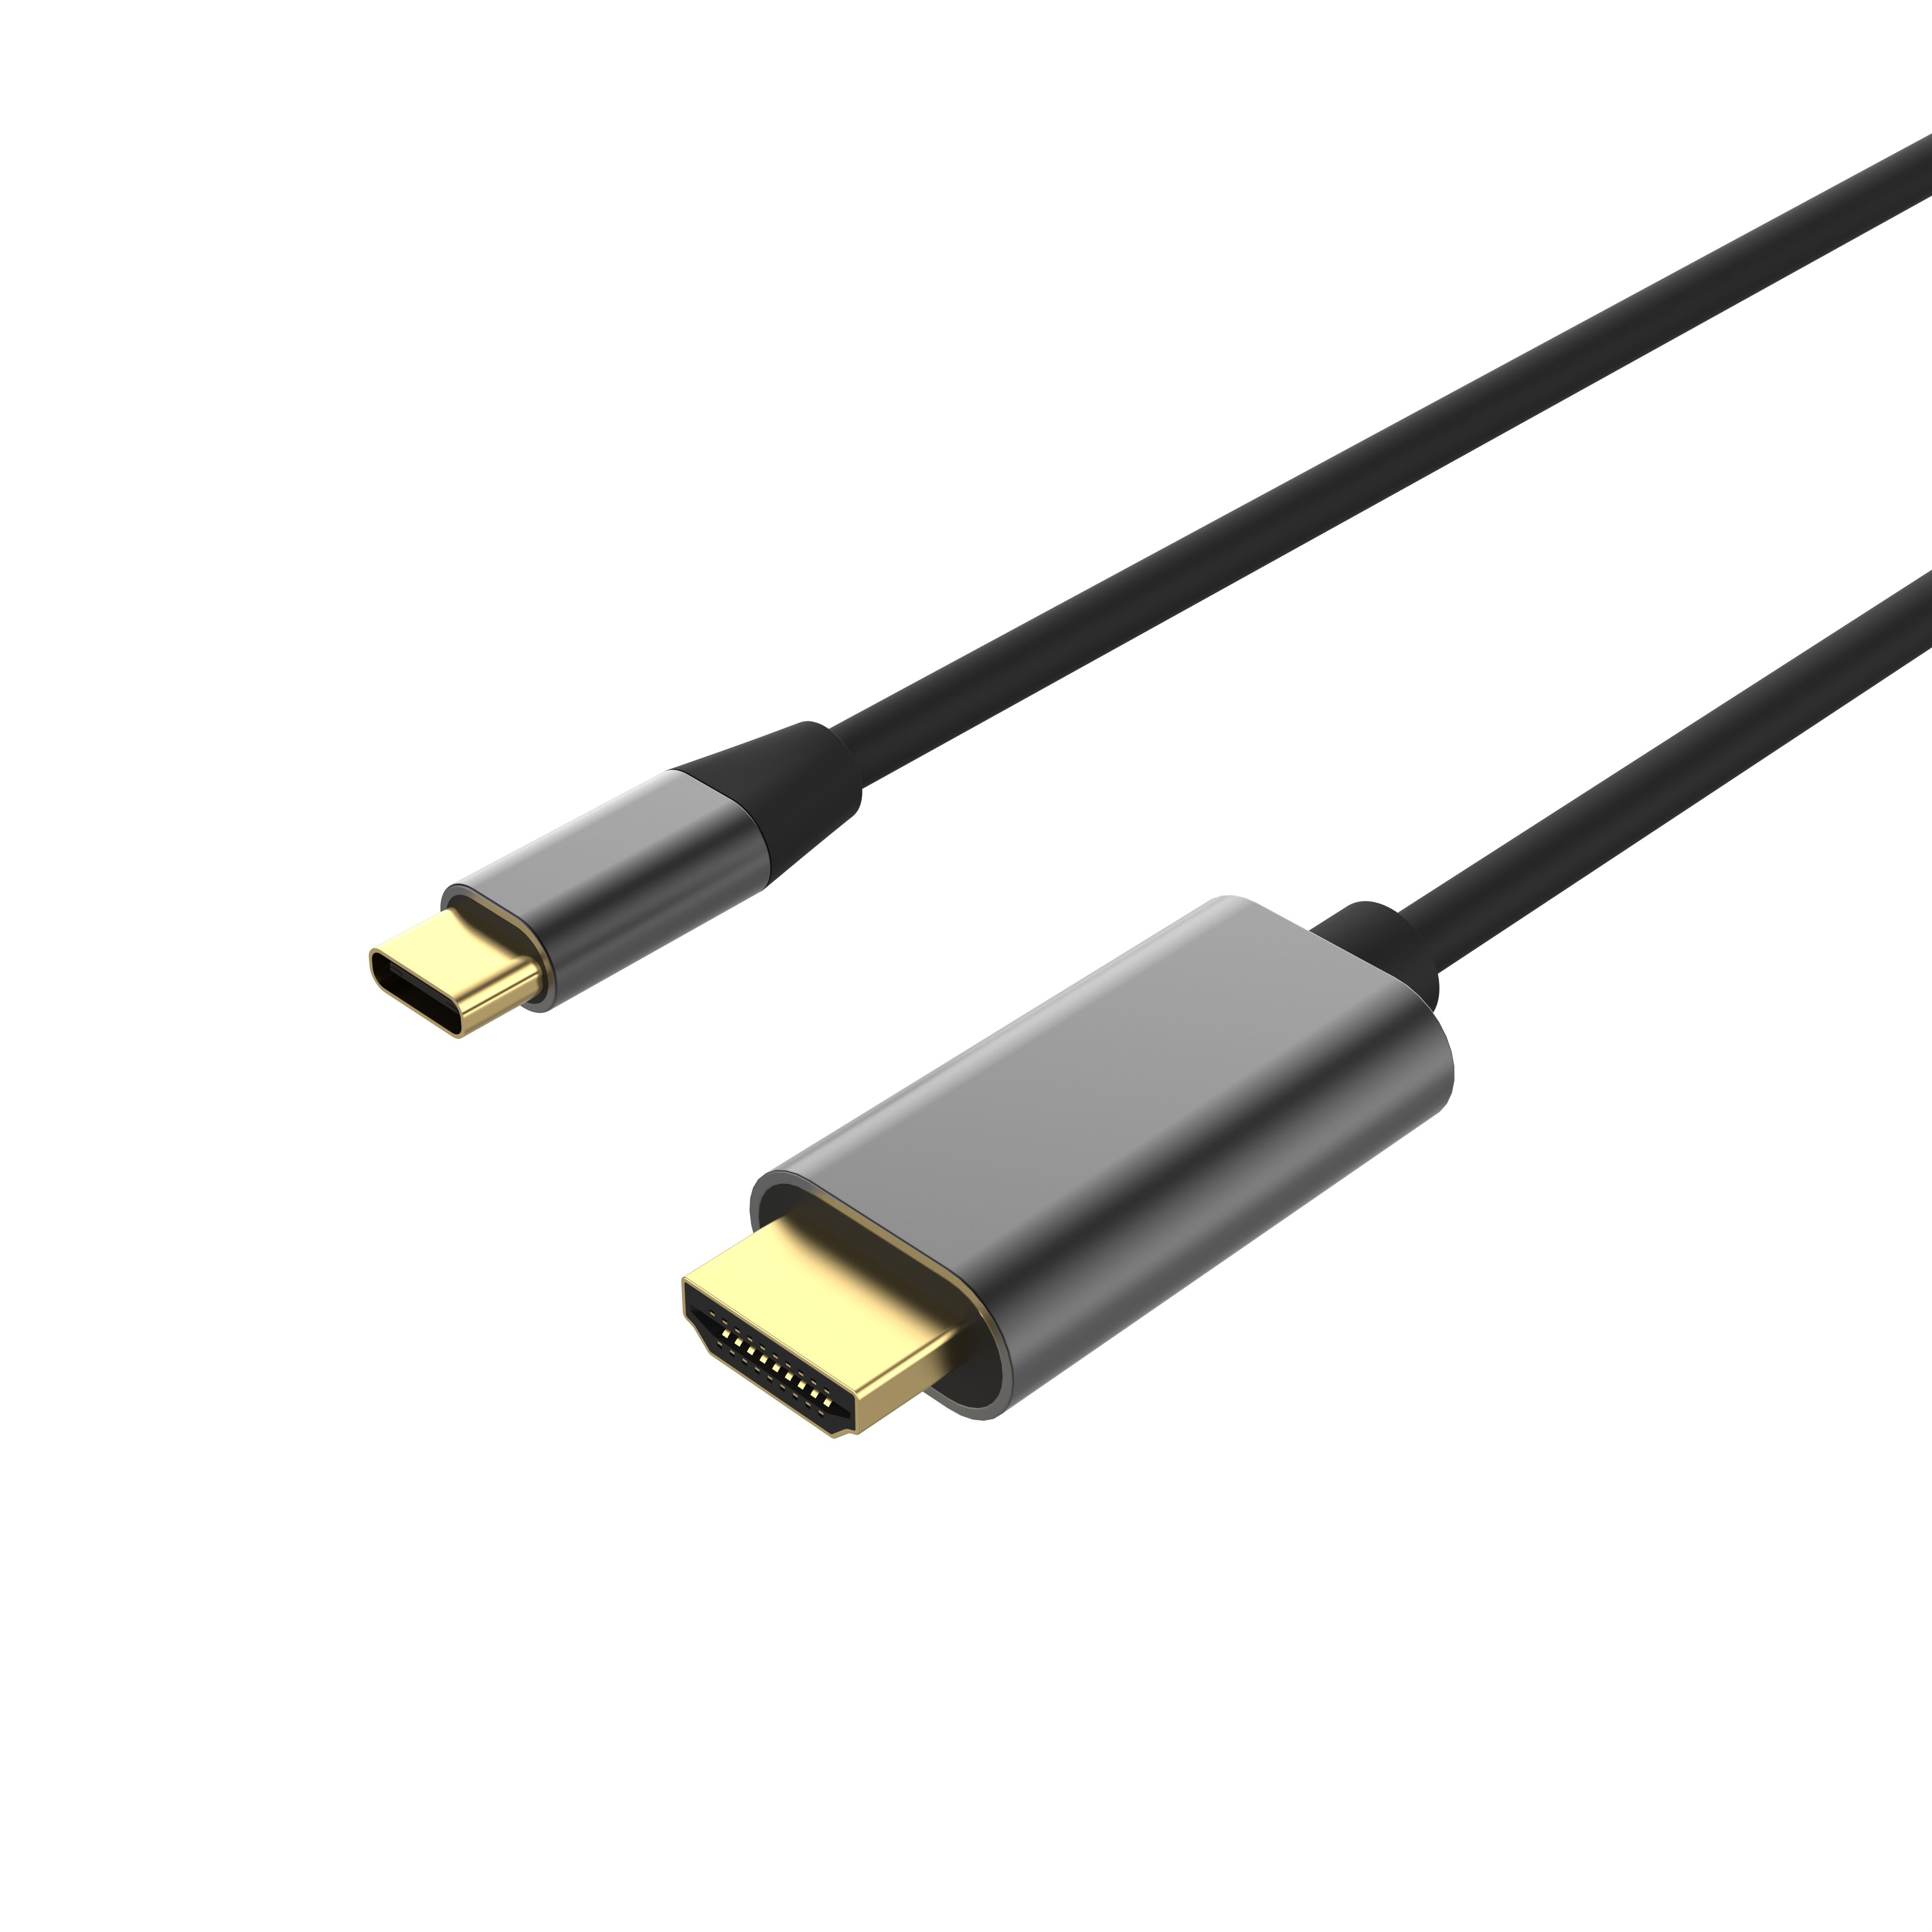
After your TV is mounted, connect all necessary cables like HDMI, power cords, and any other components you use. Neatly organize these cables to avoid clutter and potential damage. Velcro straps or cable organizers can be helpful in keeping everything tidy.
Once everything is connected, double-check that all screws are tight and your TV is stable. Adjust any settings for optimal picture quality and ensure everything is functioning correctly.
Final Touches
Now that your TV is installed and operational, consider adding some final touches to enhance your viewing experience. You might want to adjust your room lighting or add a sound system for better audio quality. Enjoy your new setup!
By following these steps, you're not only saving on installation costs but also gaining a sense of achievement in setting up your entertainment system.